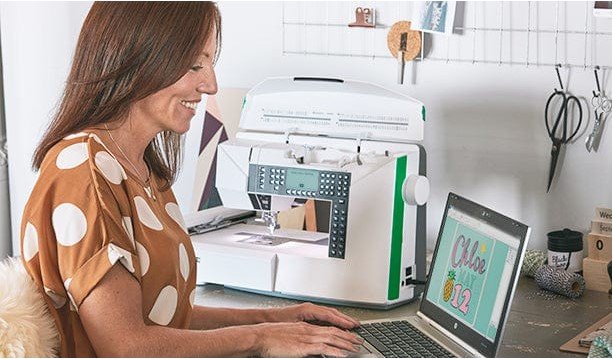
If you’ve ever tried to load an embroidery design into your Brother or Baby Lock machine only to find it won’t open, chances are it’s not in the right format. These machines typically require a PES file, which contains the stitch data, thread colors, and design layout. If your file is in a different format—like DST, EXP, or JEF—you’ll need to convert it. That’s where professional help can save you time and frustration. Services like Digitizing Buddy can quickly and accurately convert your embroidery files to PES format, ensuring they’re error-free and ready to stitch.
In this guide, we’ll break down how to convert embroidery files to PES format step-by-step, common mistakes to avoid, and tips to get the best quality results.
What is a PES File?
A PES file is a proprietary embroidery file format used primarily by Brother and Baby Lock machines. It contains:
- Stitch instructions (where the needle moves)
- Thread color data
- Design layout and size
Without the correct format, your machine won’t know how to read or stitch the design.
Why Convert to PES Format?
You might need to convert a file to PES if:
- You downloaded a design in a different format.
- You purchased a design but it’s not machine-compatible.
- You created the design in digitizing software that saves to another format.
- A client sent you a logo in the wrong format.
Tools You Can Use for Conversion
You can convert embroidery files using:
- Professional Digitizing Services (Best for accuracy and quality—e.g., Digitizing Buddy)
- Embroidery Software like:
- Wilcom Embroidery Studio
- Hatch Embroidery
- Brother PE-Design
- Embrilliance Essentials
- Free Online Converters (Quick but risky for design accuracy)
Step-by-Step Process to Convert Embroidery Files to PES
Step 1: Identify Your Current File Format
Before conversion, check your file’s extension (e.g., .dst, .exp, .jef).
- Windows: Right-click → Properties → Check “Type of file.”
- Mac: Select file → Press Command + I → Check “Kind.”
Step 2: Choose Your Conversion Method
- For Best Quality: Use a professional service like Digitizing Buddy for complex designs.
- For DIY: Use embroidery software or an online converter if you’re familiar with the process.
Step 3: Open the File in Software
If using embroidery software:
- Launch the program.
- Go to File → Open.
- Select your design file.
Step 4: Check the Design Integrity
- Zoom in to see if the stitches and colors are as intended.
- Ensure there are no missing or overlapping stitches.
Step 5: Save As PES Format
- In your software, choose File → Save As or Export.
- Select .PES from the format list.
- Name your file and save it.
Step 6: Transfer to Your Embroidery Machine
- Use a USB stick or direct cable connection.
- Ensure your machine reads the file and previews the design correctly.
Common Mistakes to Avoid
- Ignoring Hoop Size
If your PES file is larger than your hoop size, your machine will reject it. - Not Checking Stitch Density
Overly dense designs can cause thread breaks and fabric puckering. - Forgetting Color Adjustments
Different machines interpret thread colors differently—always double-check. - Using Low-Quality Converters
Some free converters can distort stitches or lose design details.
Pro Tips for Perfect PES Conversion
- Always back up the original file before conversion.
- If you’re converting a complex design, test-stitch on a scrap fabric first.
- Use a professional digitizer for designs with gradients, small text, or intricate details.
- Keep a note of thread brand and color codes to match the original design.
DIY vs. Professional PES Conversion
| DIY Conversion | Professional Service |
| Free or low-cost if you have software | Small fee per design |
| Requires technical know-how | No learning curve |
| Risk of stitch errors | Guaranteed accuracy |
| Good for simple designs | Ideal for complex or commercial designs |
If your design is for business or client use, professional conversion is worth it to avoid costly errors.
Why Choose Digitizing Buddy for PES Conversion?
Digitizing Buddy specializes in precise and fast embroidery file conversions, including PES format. Benefits include:
- Accurate stitch mapping
- File optimization for your specific machine model
- Quick turnaround times
- Affordable rates
Whether it’s a simple logo or a highly detailed piece, they ensure your file is ready to stitch without errors. And More of our Fashion site Corteiz.
Final Thoughts
Converting embroidery files to PES format might sound intimidating, but once you understand the process, it’s straightforward. For simple designs, DIY conversion can work, but when quality matters, professional digitizing services like Digitizing Buddy are your best bet. This ensures your designs stitch flawlessly, saving you time, thread, and frustration.


